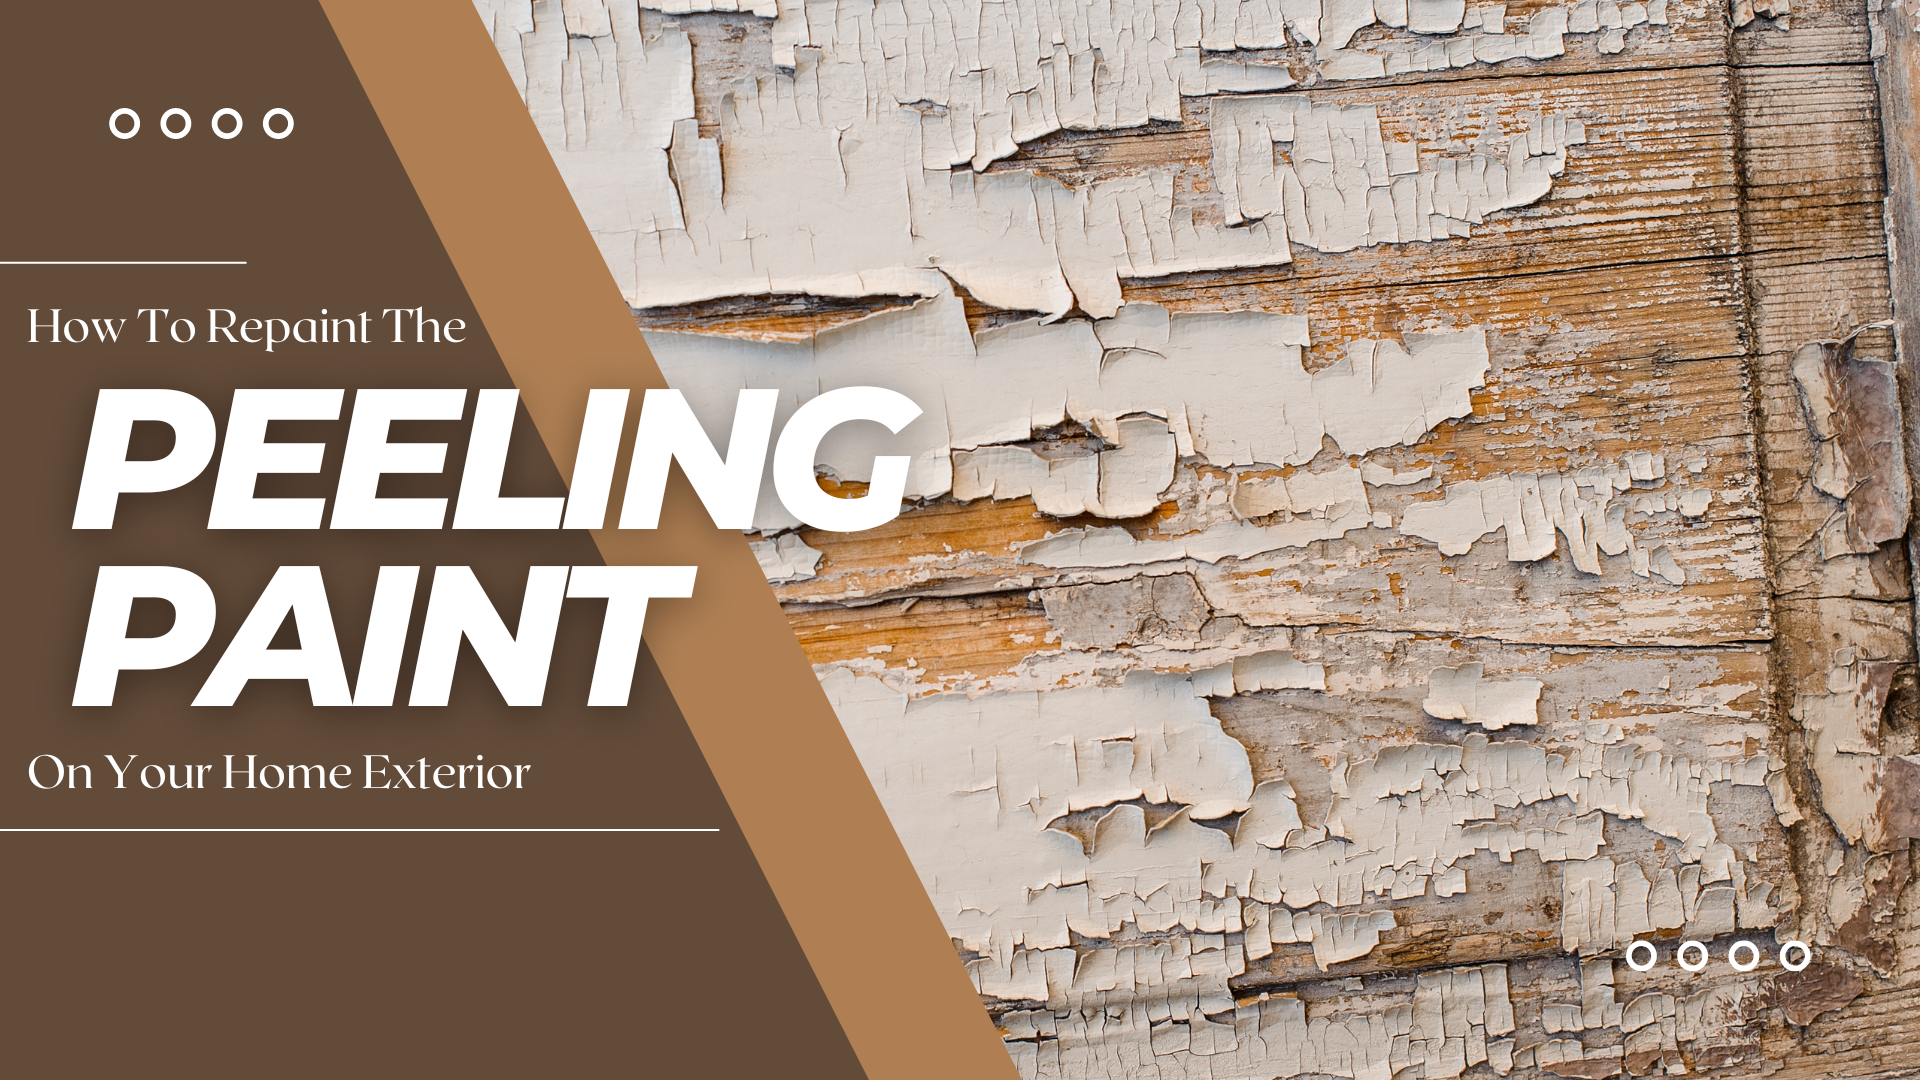
Your home exterior is the first thing people will see of your home, thus, its overall condition and appearance are indicative of their impressions of your home.
Thus, we must maintain our home exterior as much as needed, to prevent paint issues such as paint peeling, which can bring down your home’s overall appeal and appearance.
Whether due to weather exposure, poor adhesion, or aging paint, peeling paint is a common issue that homeowners face.
But, this is not something a fresh coat of paint won’t be able to fix.
So, without further ado, here’s How To Repaint The Peeling Paint On Your Home Exterior.
First Step: Assess the Damage
Before diving right into your repainting project, you should take a step back first and assess the extent of the peeling paint and try to identify the underlying causes that made the issue in the first place.
Knowing the reason why the paint on your exterior has started to peel is crucial to knowing how you should be doing your project in the first place, and essentially ensuring that the same problem won’t happen again after your repainting project.
To do this, you should be walking around your home’s exterior and closely examining the areas with peeling paint.
You should also be looking for signs of water damage, mold, mildew, or rot, since these could potentially cause paint to peel, thus, addressing these issues is crucial before repainting.
Taking the time to thoroughly assess the damage will help you develop an effective plan for repainting and ensure long-lasting results.
Second Step: Prepare the Surface
After your thorough assessment of the peeling paint issue on your exterior, you’ll now want to move on with the next step of your project: preparing your exterior surface for a repainting project.
Most people often underestimate the importance of proper surface preparation in a painting project, but more often than not, proper surface preparation is the determining factor between a durable, clean, and long-lasting paint finish and an abysmal, faulty one.
So, to start, you’ll want to remove all loose and peeling paint using a scraper or wire brush.
Doing this thoroughly is important to create a stable foundation for the new paint.
Then, wash the entire exterior surface with mild detergent and water to remove dirt, grime, and any remaining loose paint chips, and dry the surface completely.
Lastly, depending on the severity of the peeling and the condition of the surface, you may need to sand rough areas or use a power washer for stubborn stains.
Third Step: Prime the Surface
Once the surface is clean and dry, it’s time to apply primer to the surface.
A lack of primer application is often linked to the occurrence of early paint peeling since a coat of primer will help your paint adhere better to the surface and seal the paint securely to the surface.
Additionally, you should choose a primer specifically formulated for exterior use and compatible with the type of paint you’ll be applying.
Lastly, in applying your primer, make sure to pay particular attention to areas with bare wood or exposed substrate, as these areas are prone to soaking up moisture and causing future paint problems if left untreated.
Next Step: Selecting the Right Paint
To ensure that your fresh coat of paint won’t be peeling anytime soon, make sure that you select the right kind of paint – and to successfully do so, there are some factors you must be mindful of.
First, do make sure to acquire high-quality paint – while it may be tempting to opt for cheap, low-quality paint to save money, you’re only going to be spending more in the long run when you find that your coat of paint isn’t as durable and will need frequent repainting.
So, make sure to opt for high-quality exterior paint specifically formulated to withstand the elements and provide excellent durability and color retention.
Additionally, you should also consider factors such as the climate in your area, the type of substrate (wood, stucco, brick, etc.), and the desired sheen (flat, satin, semi-gloss, etc.) in getting paint.
If you’re unsure, do not be shy to consult with a paint professional or seek recommendations from your local hardware store.
Final Step: Apply the Paint
With the surface properly prepped and primed, it’s time for the fun part – applying the paint!
To do this, make sure to work in small sections for efficient painting, and maintain a wet edge to avoid lap marks.
It is also important to remember that thin coats are better than thick ones, for better coverage and less mess.
Lastly, pay attention to areas prone to peeling, such as trim, corners, and joints, and ensure thorough coverage to prevent future paint problems.
We are Total Pro Painters. As a successful, family-run business we’ve been providing commercial and residential painting services in the Boston area since 2010.
For painting inquiries, you can contact us at 774-509-0345 or send us an email at info@totalpropainters.com.
Related: Tips For Doing A Roof Painting Project On Your Own in Boston, MA


